631 words • | Tags: Woodworking
Wedding Wine & Letter Box - Woodworking video
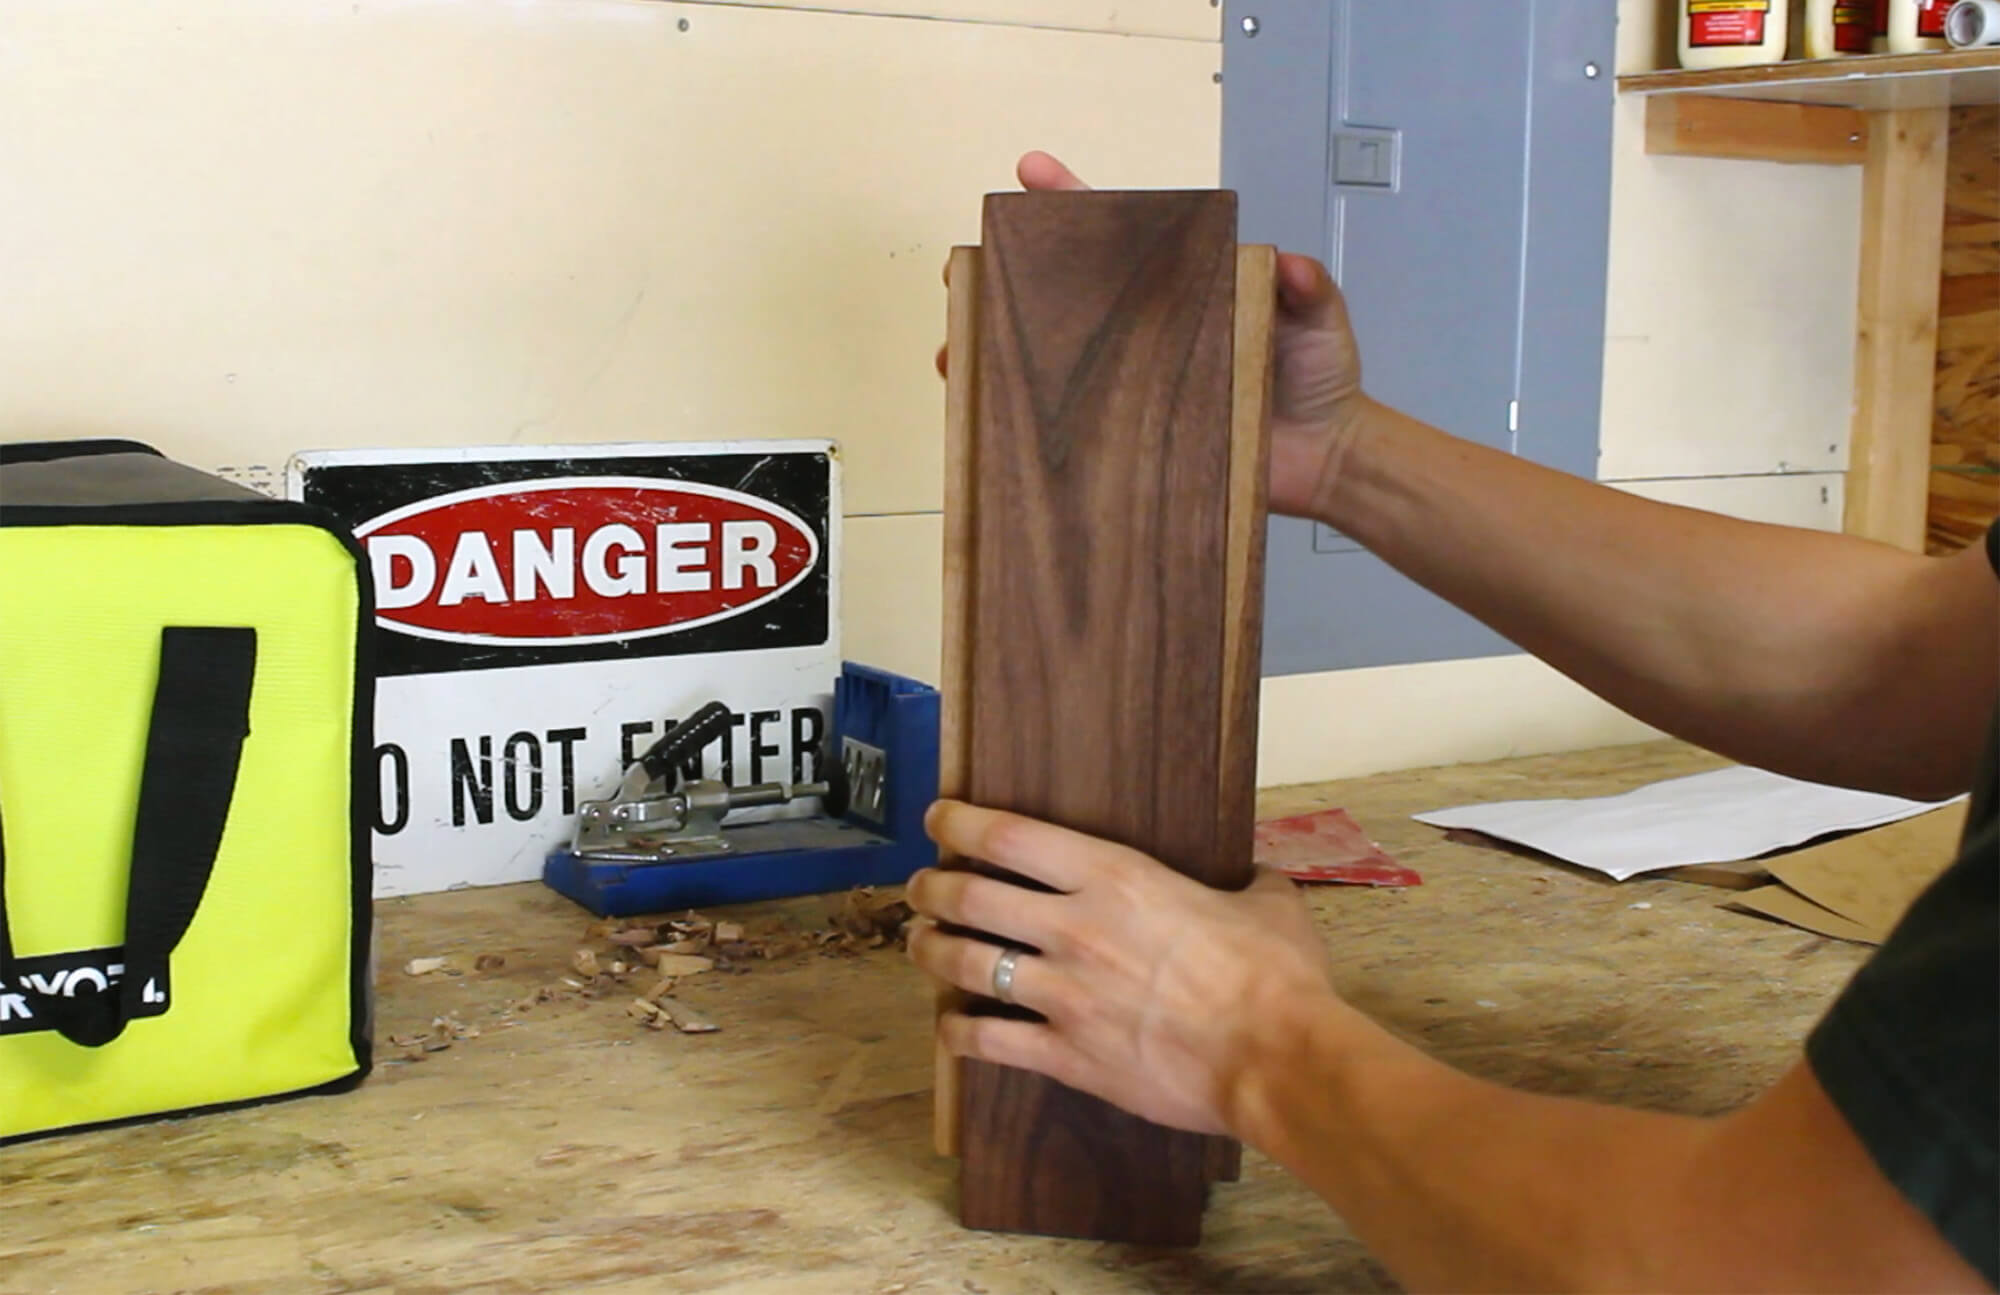
Handmade walnut wine & letter box for my wife and my non-traditional wedding ceremony.
By Whiskey Wood Creations, Whiskey Wood Creations
Wedding Ceremony Wine & Letter Box woodworking project

Being a designer and maker means more than just brainstorming, it means dreaming, breathing, and living the piece that you're making. Heart and soul, blood, sweat, and tears.
The idea behind this addition to a Wedding Ceremony is this: you make the wine & letter box, preferably in purist and romantic fashion, by hand, get a good bottle of wine, and write love letters to each other. During the Wedding Ceremony you can have “letter bearers” bring the letters down the aisle (shoutout to my 2 youngest nephews - you both did a great job). You appoint a time during the Ceremony to together, as a couple, place the letters and the wine into the box and seal it shut.
The thought is that you’ll then open the box on your 5th Anniversary, enjoy the wine and read the letters that you wrote to each other. If you find that your marriage has hit a rough patch, this box is always here for you, open it sooner. This may not seem like the most romantic thing to address on a Wedding Day, to think about the days when things will be hard, but be realistic and know that marriage takes work.
Tools & Supplies
Building
- Hand saw for the purist, romatics :-)
- Chisel set
- RYOBI Sheet Sander (if needing a power sander)
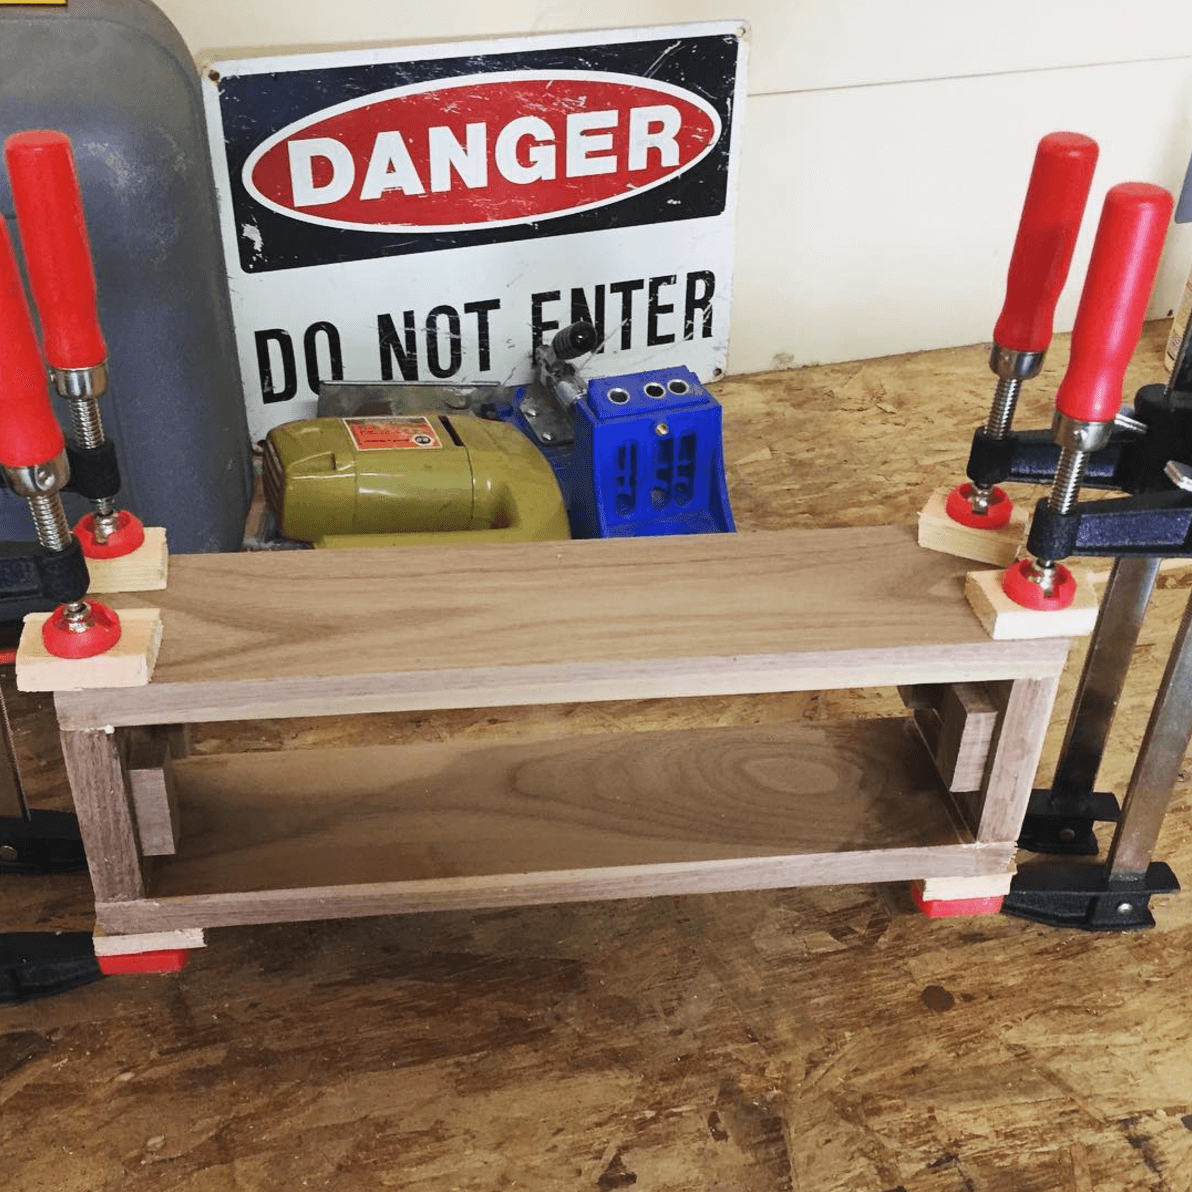
- Clamps
- Wood glue
Finishing
- Watco Danish Oil - Natural color/tone
- Assorted sandpaper
- Tack cloths
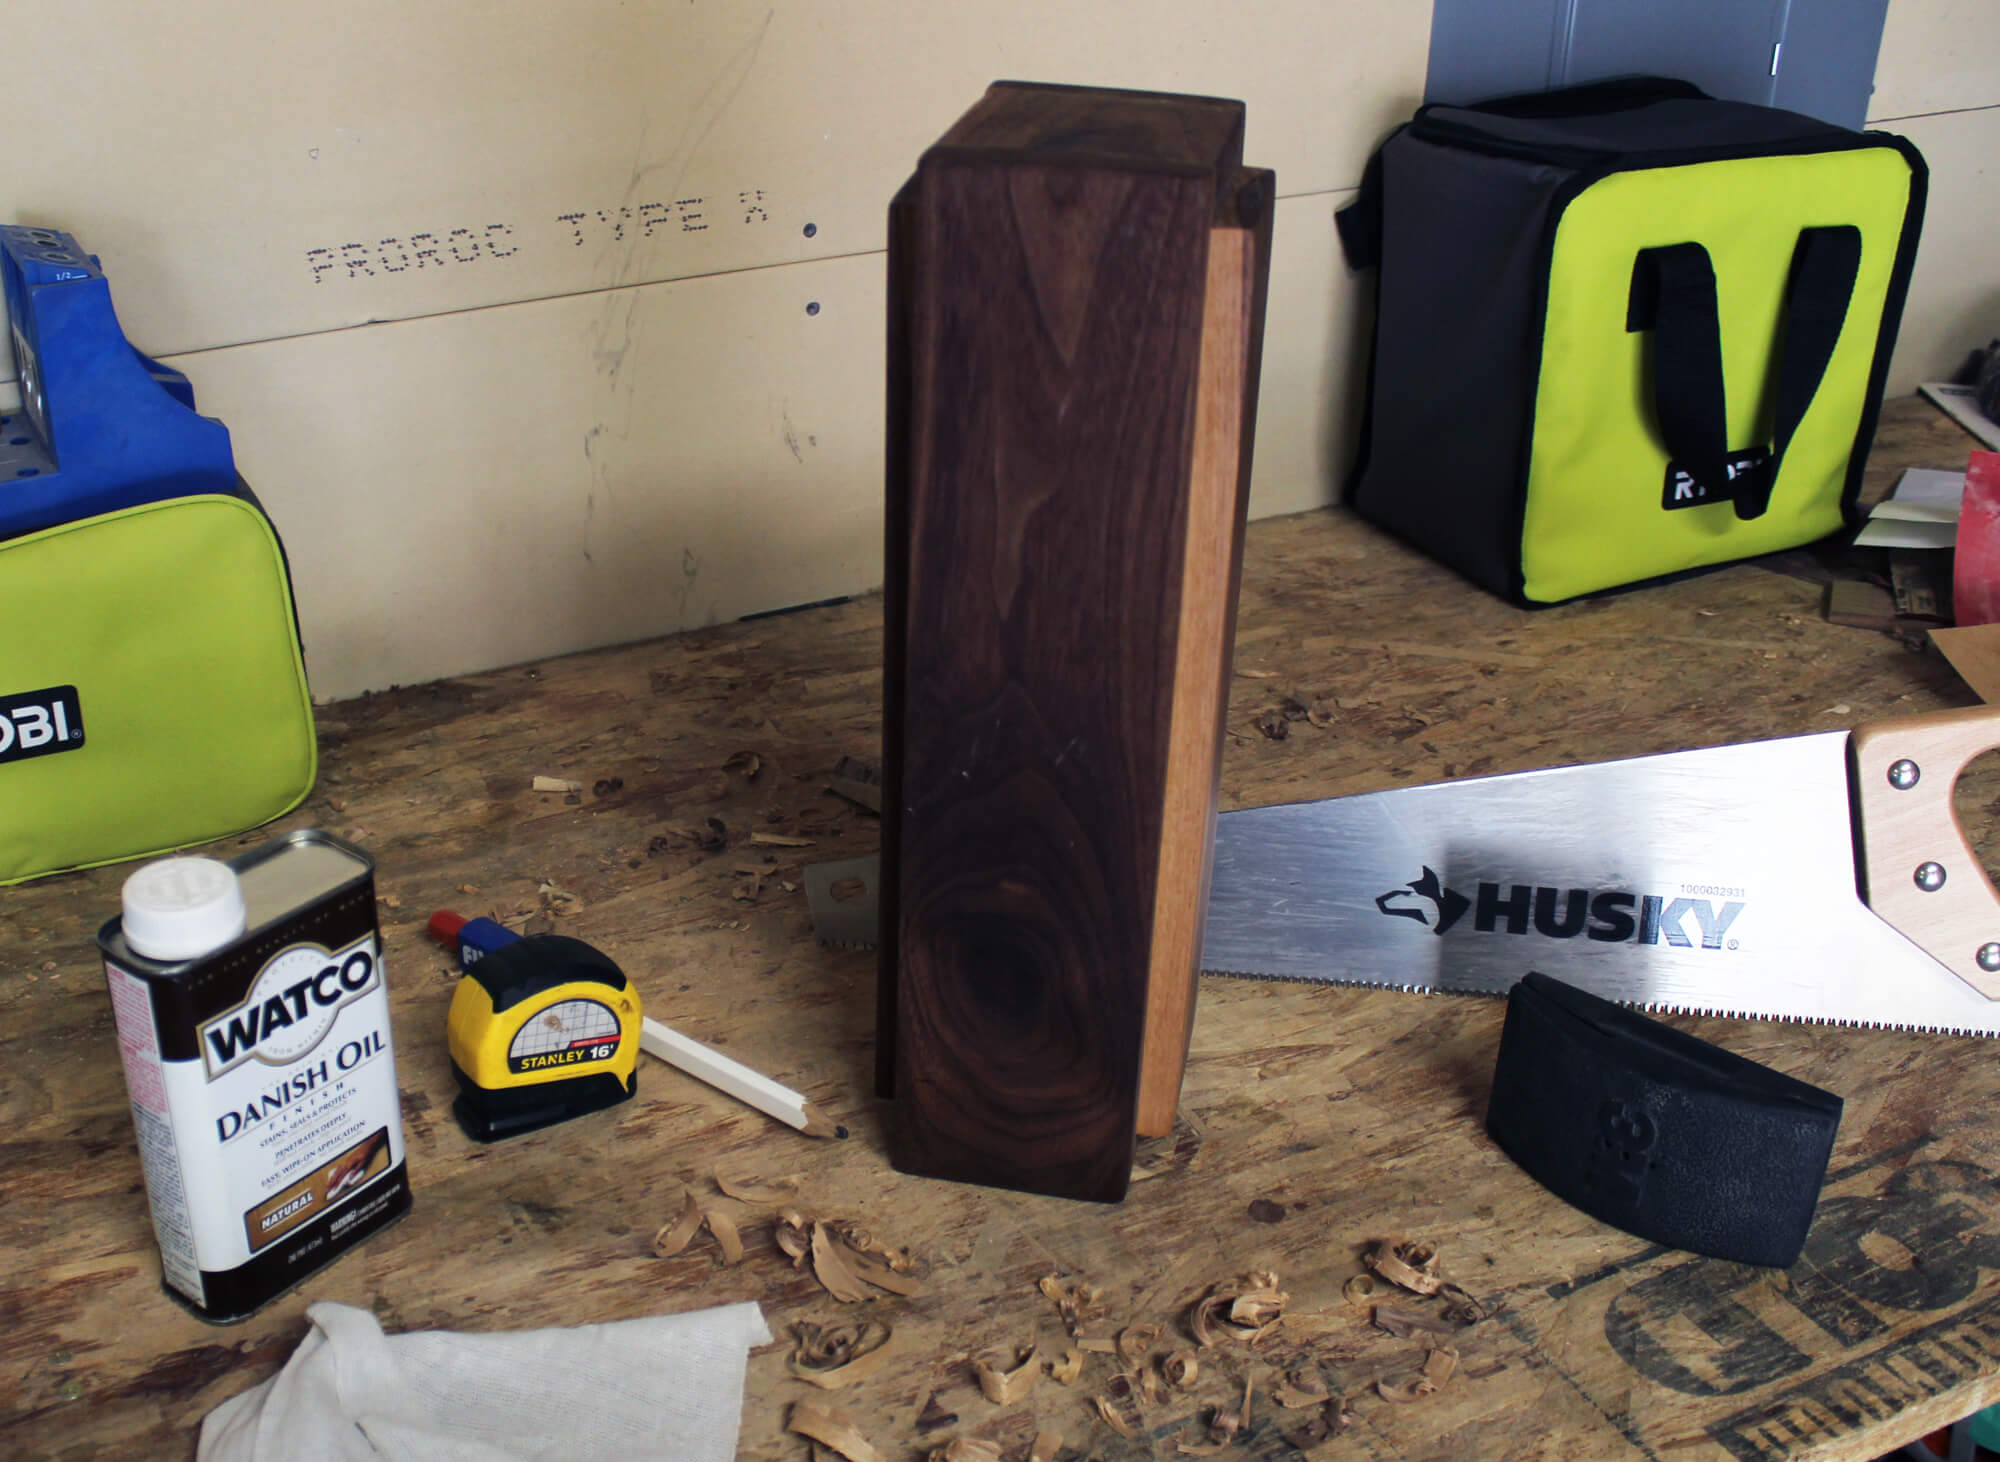
The hand tools are absolutely intentional, as I told myself that this project needed to be a labor of love. The only power tool I did use was a sander, everything else is solely by hand.
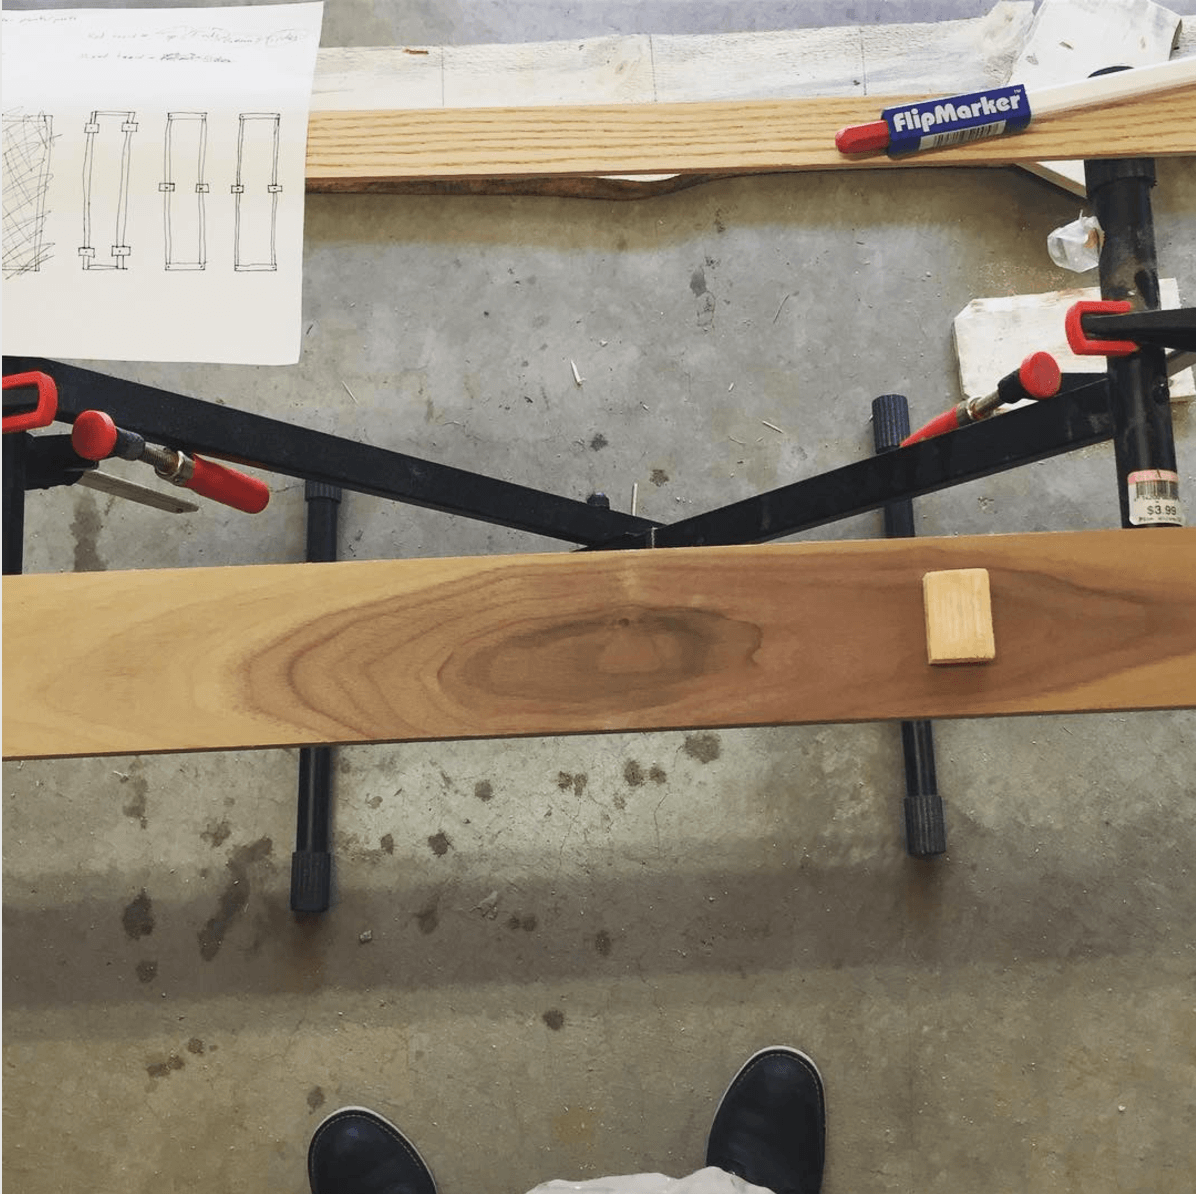
One of the amazing things about design is that it really can and often does change during the making-of. What you initially may have planned and drawn or sketched out may not be the final product. Do what feels right, follow your creativity, and shift when need be. Also, potentially build it out of scrap wood, like I did, first.
The most crucial step in this project and what should take up the majority of your time is the sanding and finishing of the wine box. Take your time, working from 120 grit, to 220, then 320, and potentially even further.
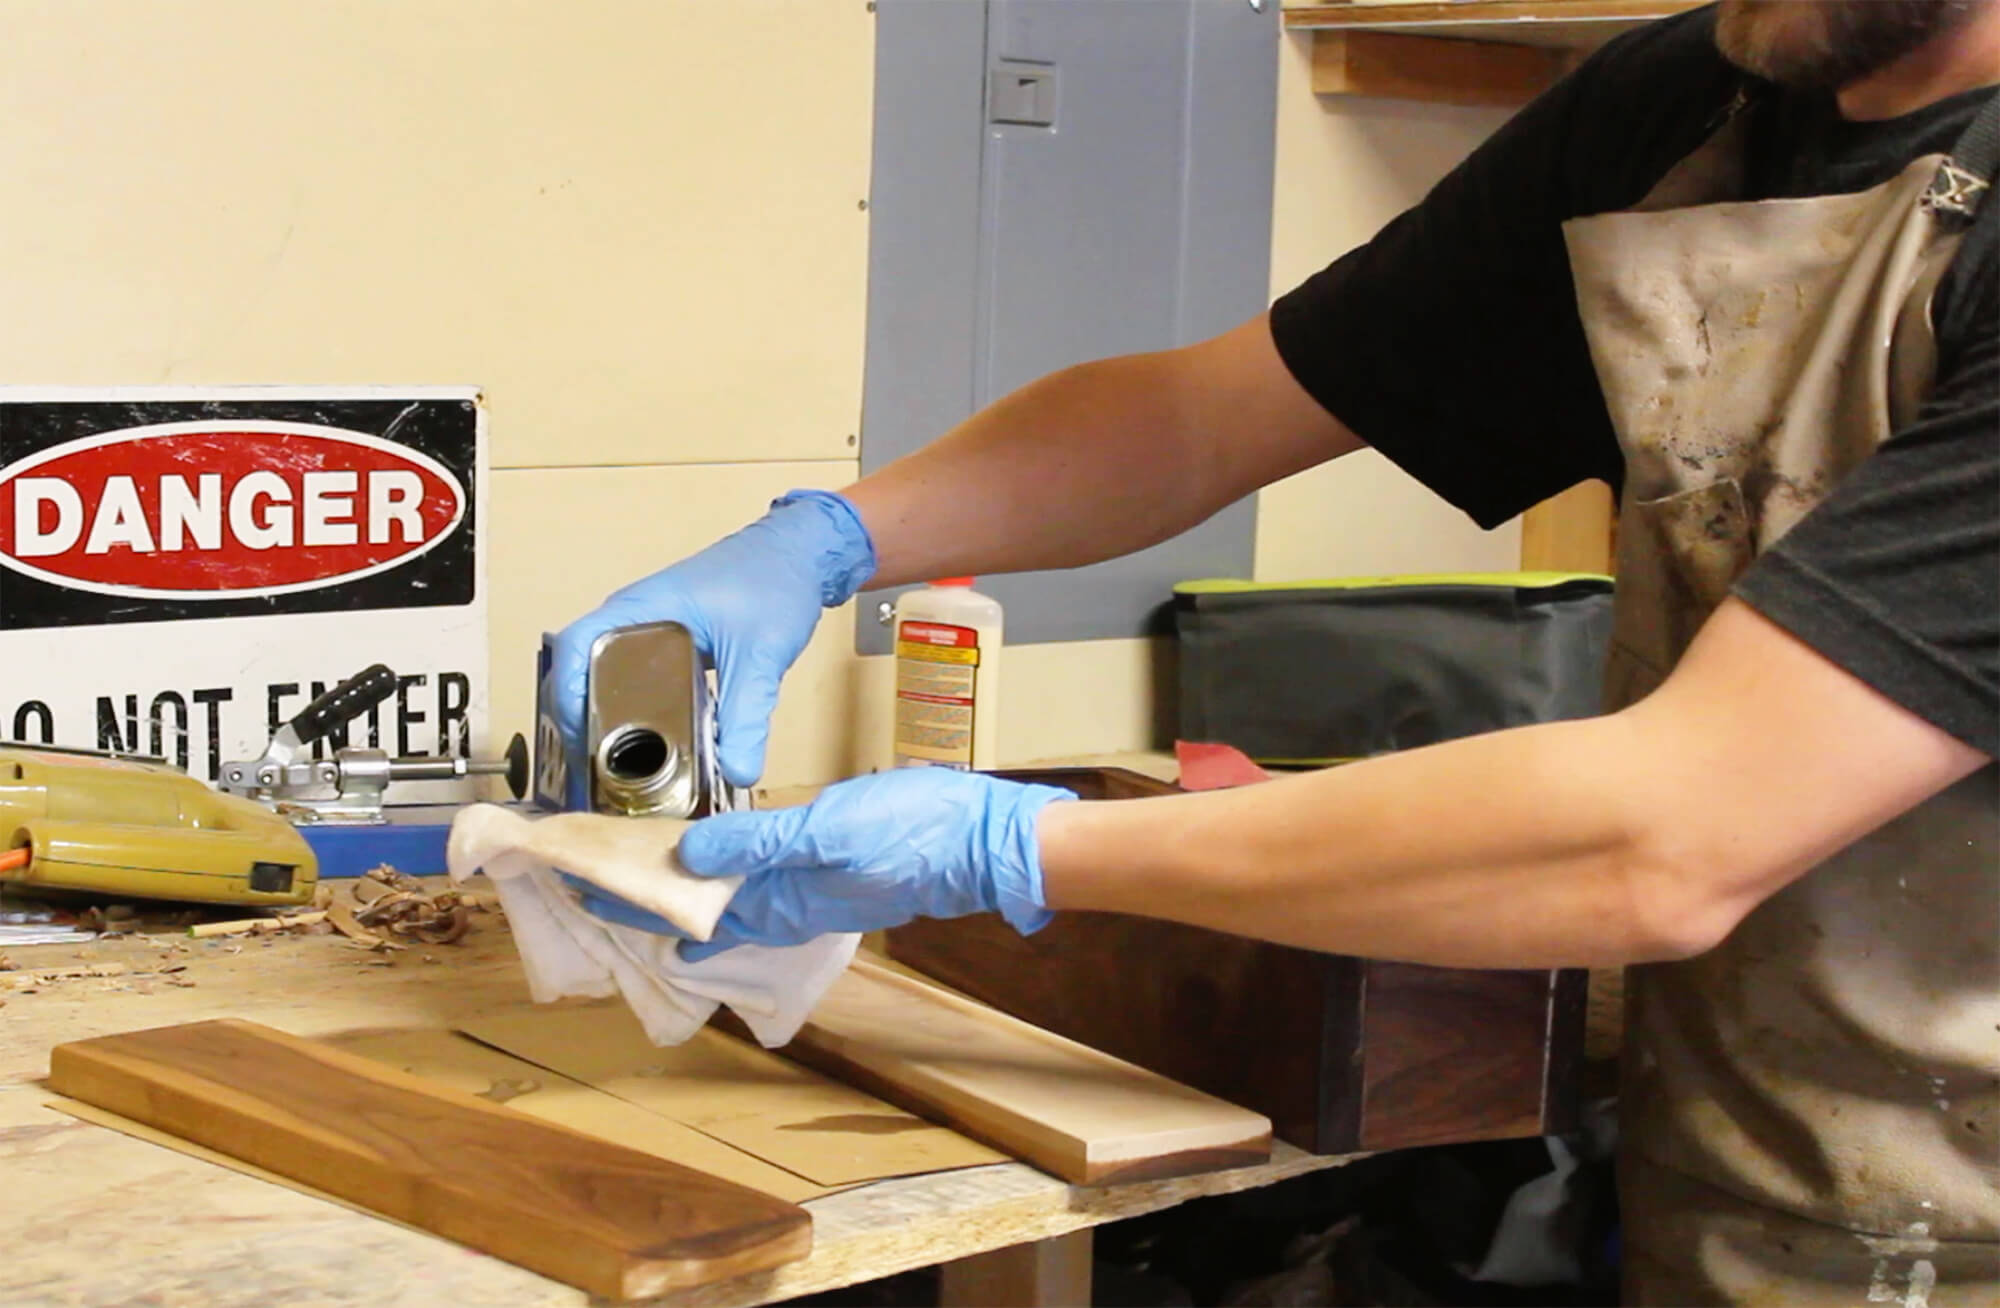
Danish oil does a great job of finishing a piece like this. Apply coats liberally, letting them dry in between. I’d recommend at least two thorough coats of danish oil on this project. You could explore other finishing options, like a hand-rubbed wax finish or other oils.
Thanks for checking this video out and I hope you enjoyed watching my process. I’m not a professional by any means, but I definitely had a blast making this. Again, it’s one of the more important pieces that I’ve had the pleasure of designing and making, to-date. Subscribe to the Channel on YouTube, as I’m in the process of making more detailed how-to’s and tutorials, accompanied by SketchUp plans.